The next one was the Shield Boomerang, A ranged weapon that also doubles as a protective shield that reflects projectiles. It was another simple model to make... or so I thought. I didn't initially check the official concept art when designing the model so I didn't know the weapon itself was different. I mainly used official promotional artwork for the various games in the series (Shield Boomerang appears in all of the games except for 4)
The model was made out of a sphere that was flattened and every other vertice rotated to give it a jagged look. The centerpiece was a simple cylinder scaled down.
For the inactive Shield Boomerang model, I started with a cylinder and made another smaller one that I duplicated and moved to both ends of the big one. To make the blades at the top I created a prism and scaled the model to make them look like blades.
After some small touch ups. here are the final models.
Artefact Production
As the texture designer, I'm making textures for the various planets you can look at in the final product.
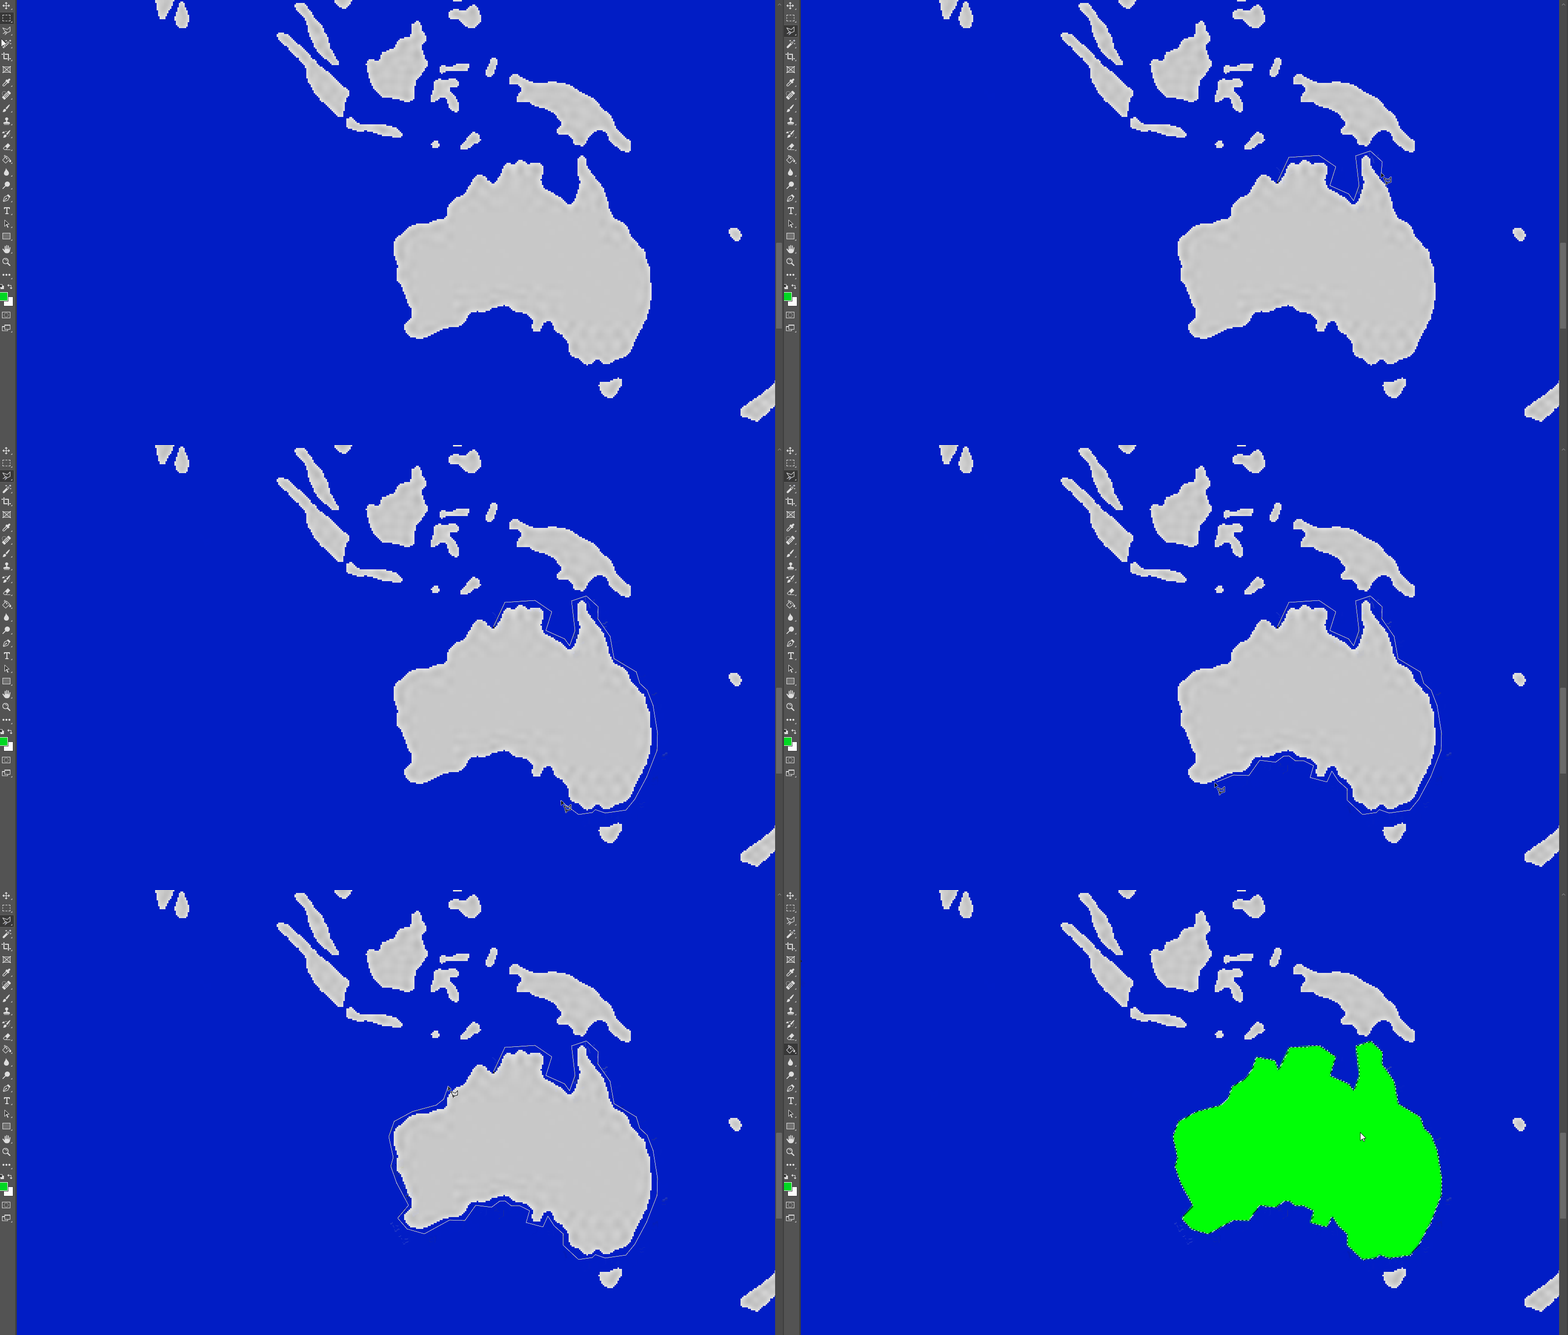
I primarily used Photoshop for the process of creating the textures (with one exception). Here is a gif of me using a combination of the Polygonal Lasso tool and the paint bucket to make the texture for Earth, as well as another gif of me using the Render tool to make the cloudy texture of Mercury.

Here is the timelapse of the process of me making the texture for Saturn using the gradient fill for a background in PowerPoint.
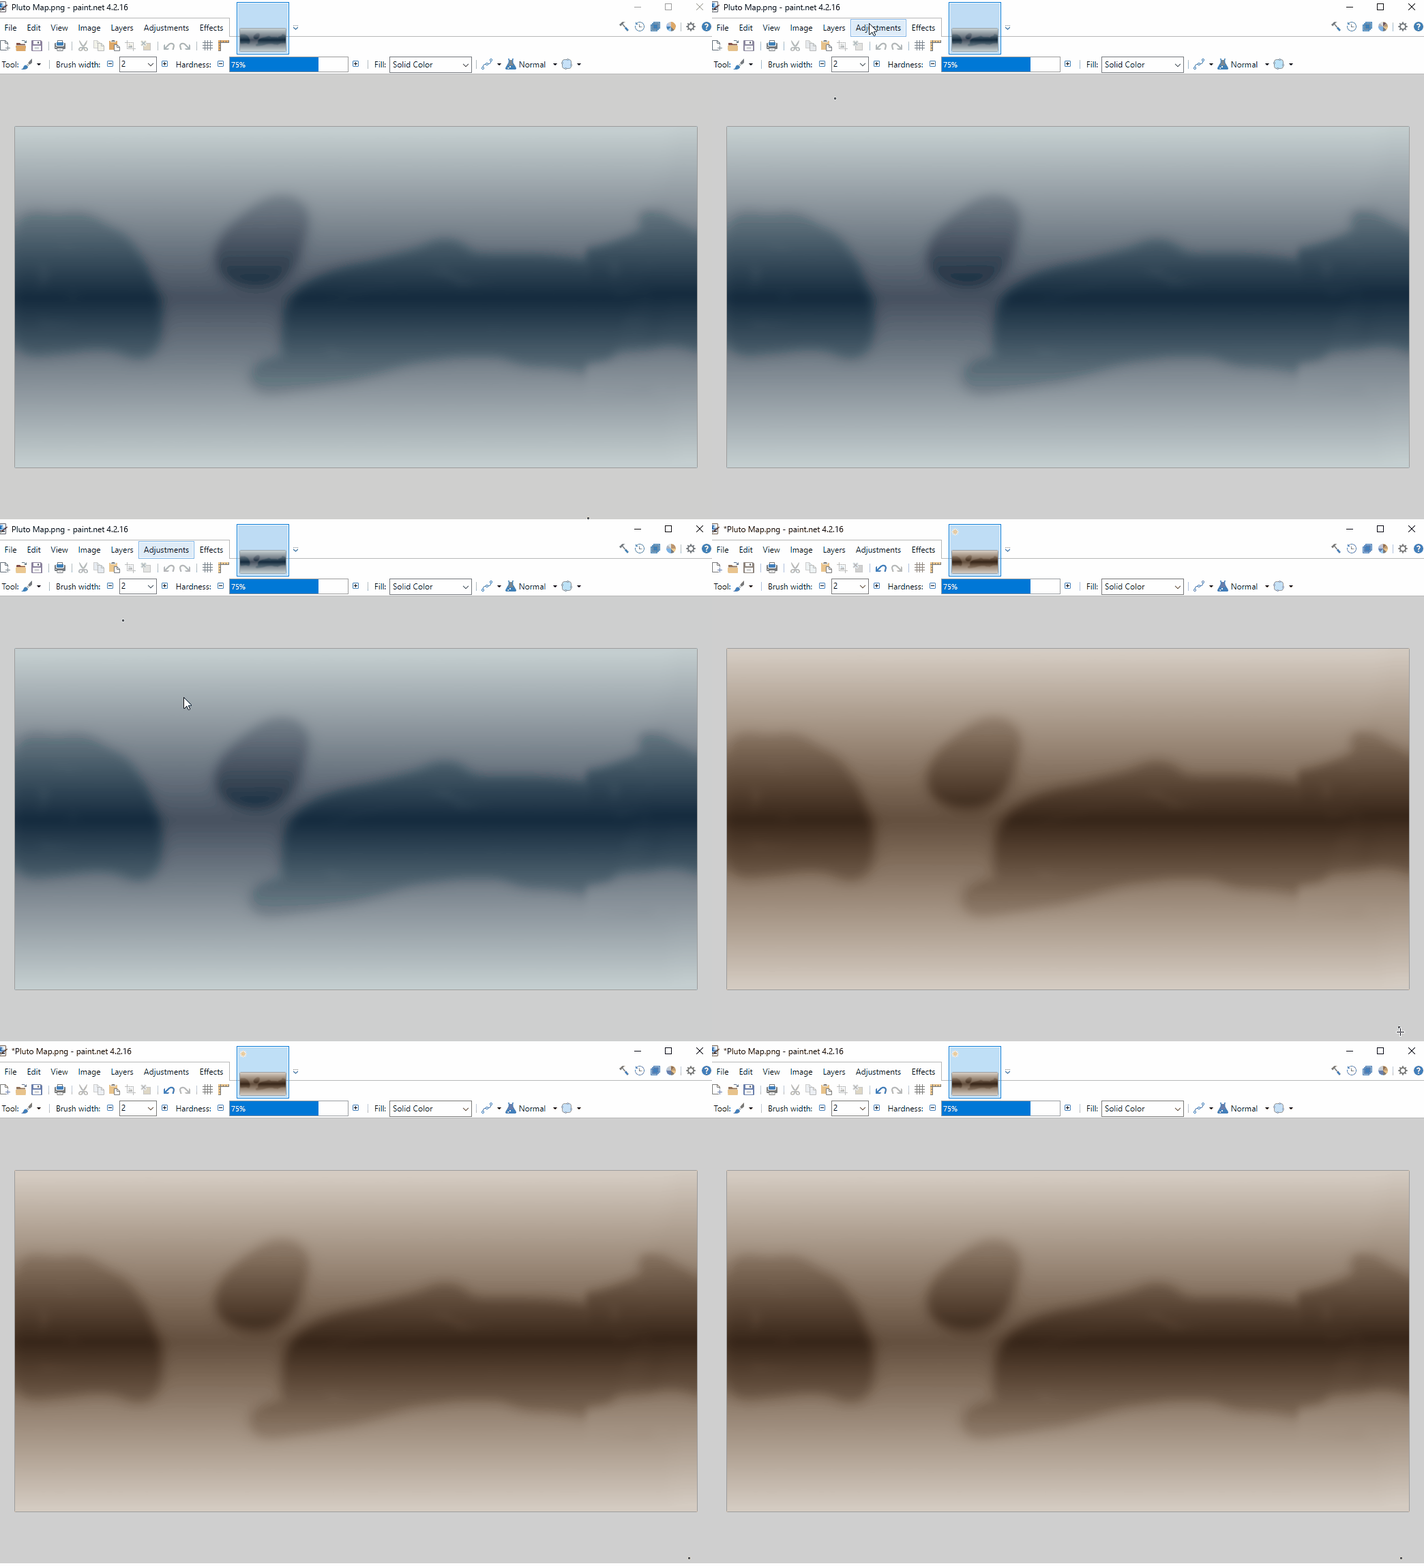
Here is a gif of me using the Sepia filter to finish the texture for Pluto.

For each of the planets, the colors used were based on the colors used in the surface maps created by JHT on his site, JHT's Planetary Pixel Emporium.
Mid Production Survey
Partway through the development of the project, we put out a survey to ask about our progress so far and what we could possibly do to improve the project. Here are the results of the survey.
Final Product
mERCURY
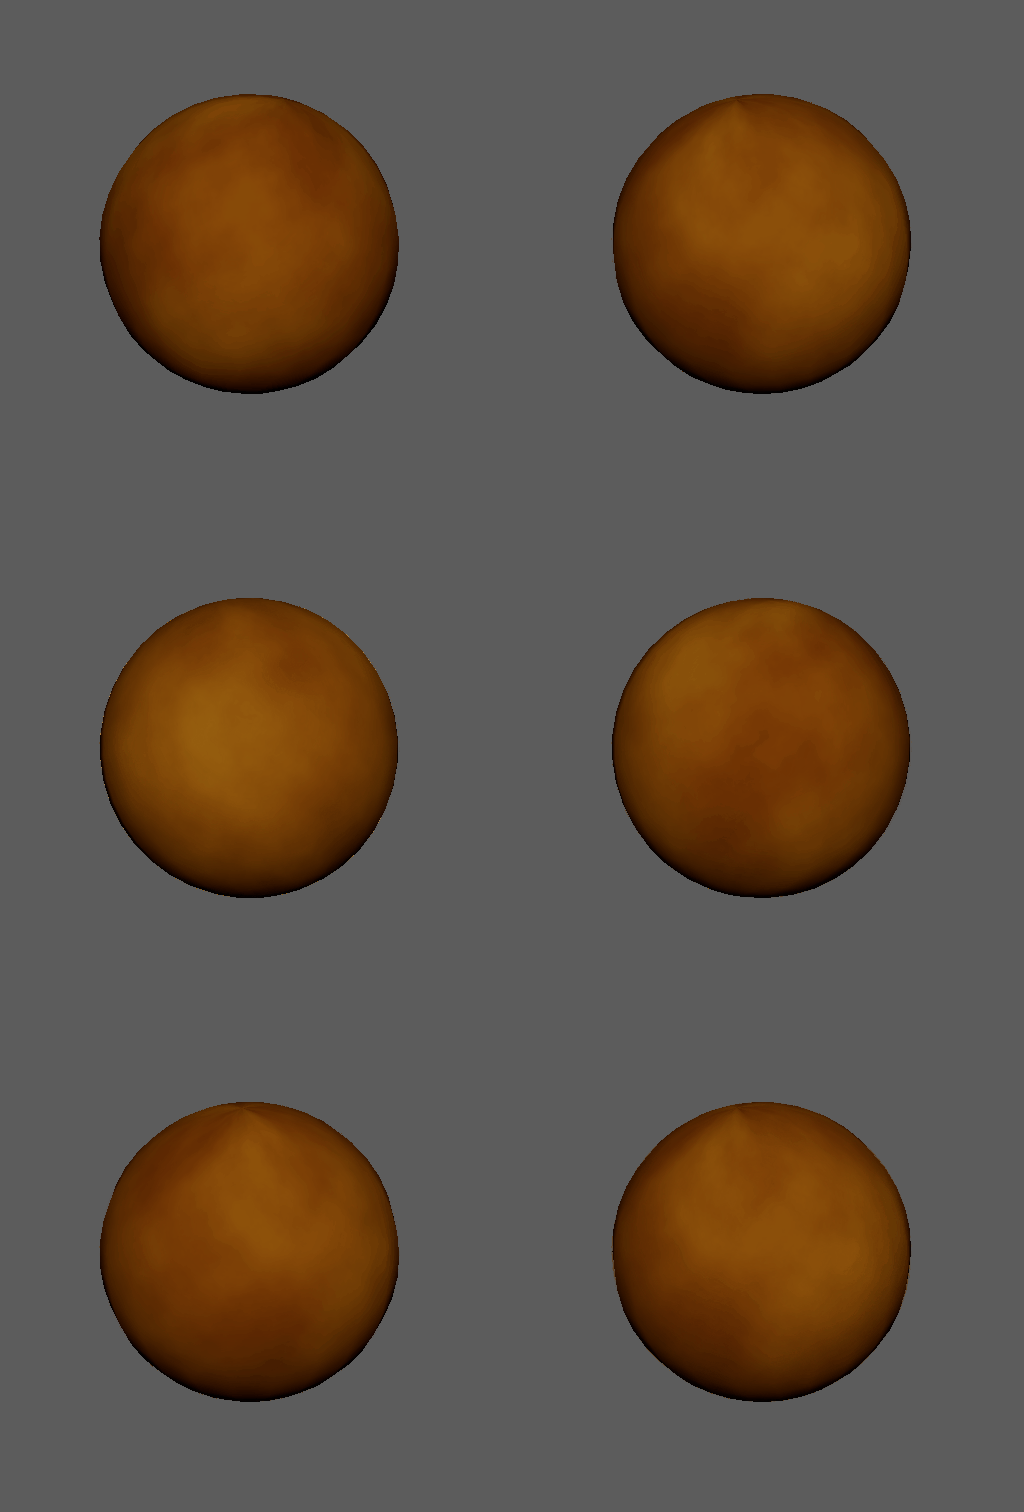
For Mercury, All I did was make a brown-ish cloud.

vENUS
Venus was similar to Mercury, but with a more orange-brown colour.

eARTH
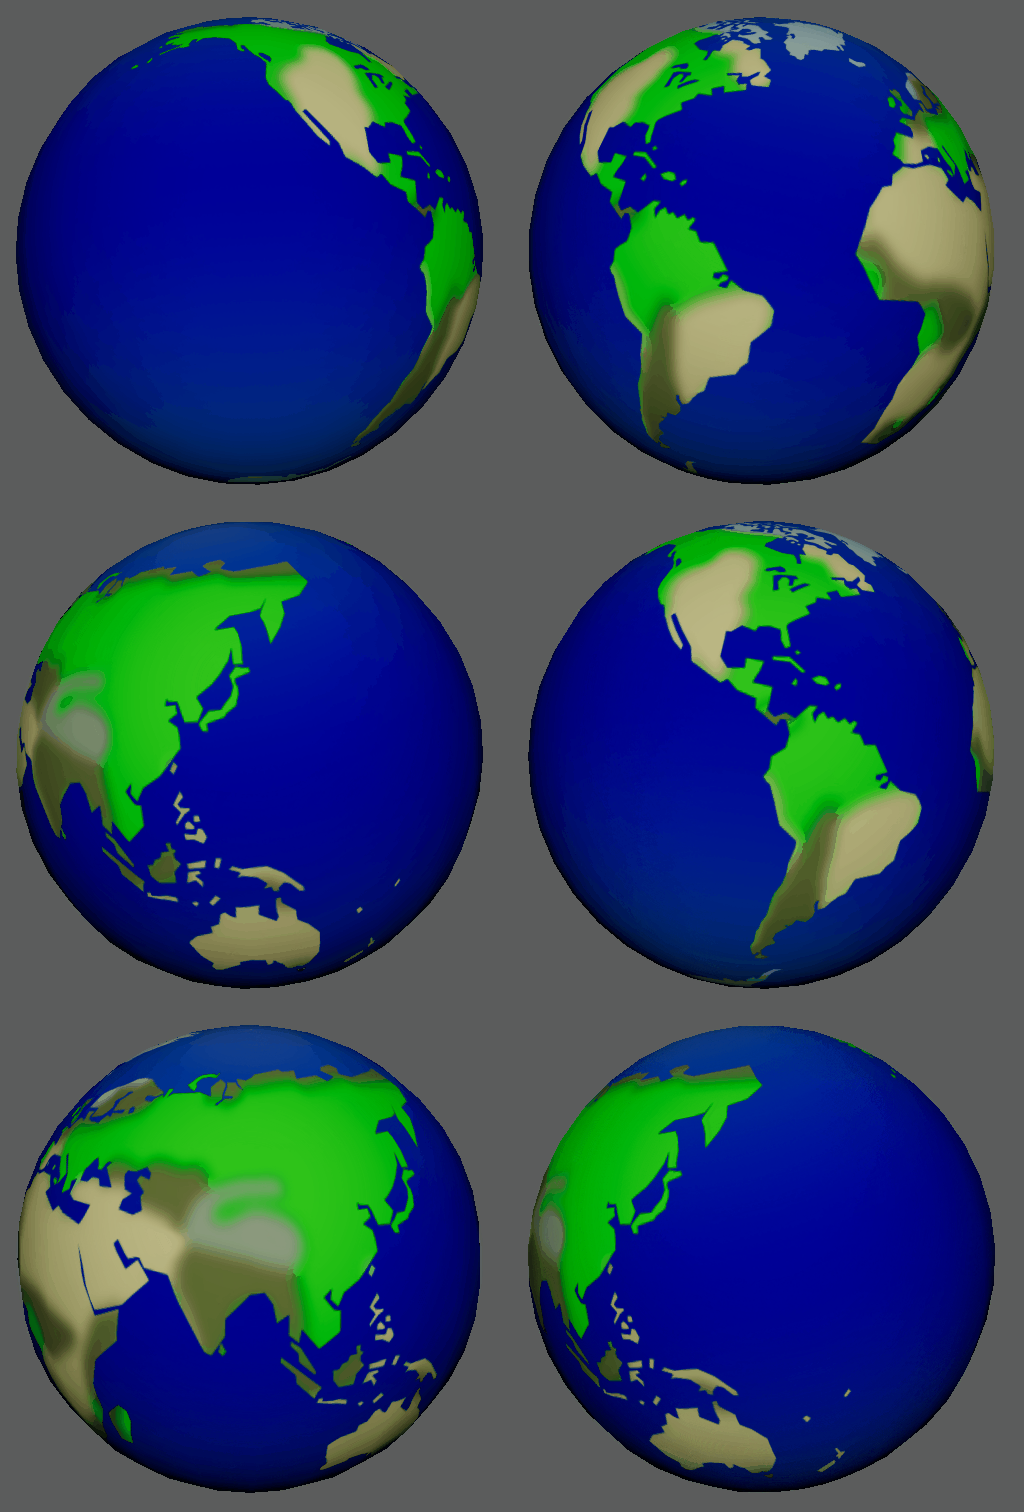
I started off by finding a simplified map of the globe thanks to iStockPhoto, and worked my way around it. I wasn't trying to make it as accurate as possible, but I wanted to make it polygonal.

mARS
Mars was quite easy to make. I just made a brown cloud effect and used the brush tool in white to make the clouds at the top and the bottom.

sATURN
Saturn was the most unique one I made, as instead of using Photoshop to make it, I used Powerpoint. I made a background on a powerpoint slide, and applied a gradient effect, using the colours of Saturn. The final result was then snipped and made into the final image.

uRANUS
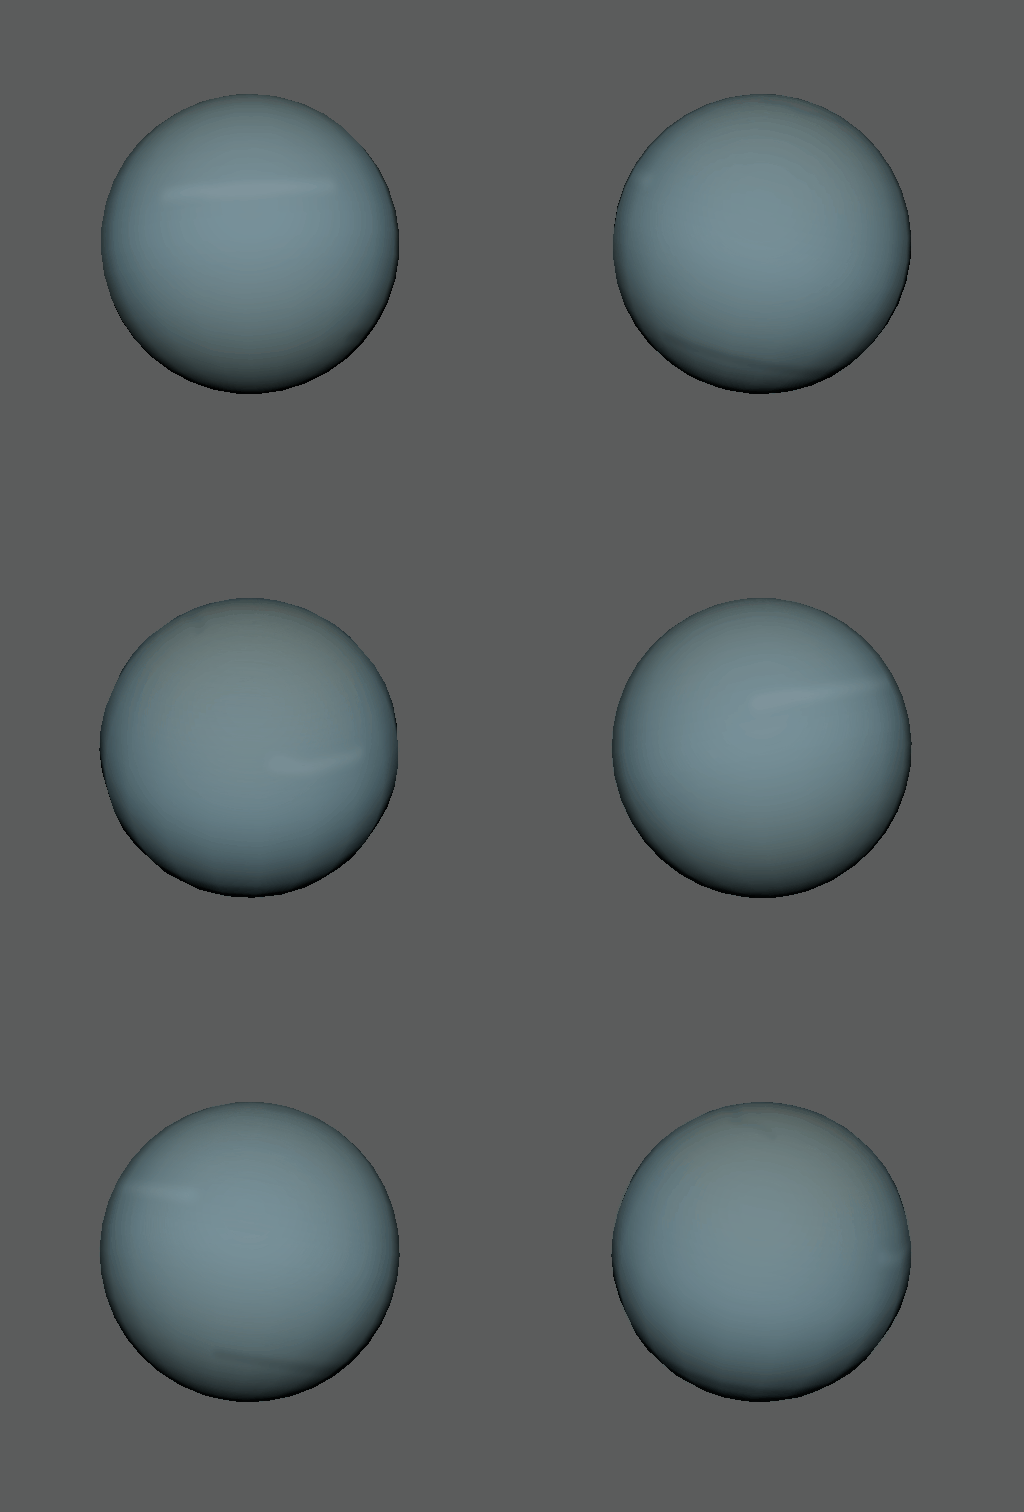
Uranus was also simple, I found an image online, used colour picker to find the colours of the top and middle, then made a gradient in the middle. Using different shades, I added some detail to the texture and the final result is below.

nEPTUNE
Neptune was about as easy to make as Uranus. All I did was make a blue gradient and did a similar thing to what I did before. I used different shades to fill in the detail.

pLUTO
Pluto was probably the most challenging one to make. I found an image of Pluto's Surface online and roughly traced around it using the Polygonal Lasso tool. However, the first time around I didn't make the texture seamless, so I had to do it again. Using black lines as reference, I traced it again making sure that there would be a seamless transition to the next texture. I applied a Sepia filter (the original was comprised of multiple shades of grey) and the finished result is below.

Textures on the Models


(This model of Saturn's ring in this gif was made by Nathias.)




Sun
One of the first textures I made was for the sun. It involved using the clone stamp tool and blur tool. Huge thanks to Nathias for helping me out with this.

original image by iStockPhoto
mOON
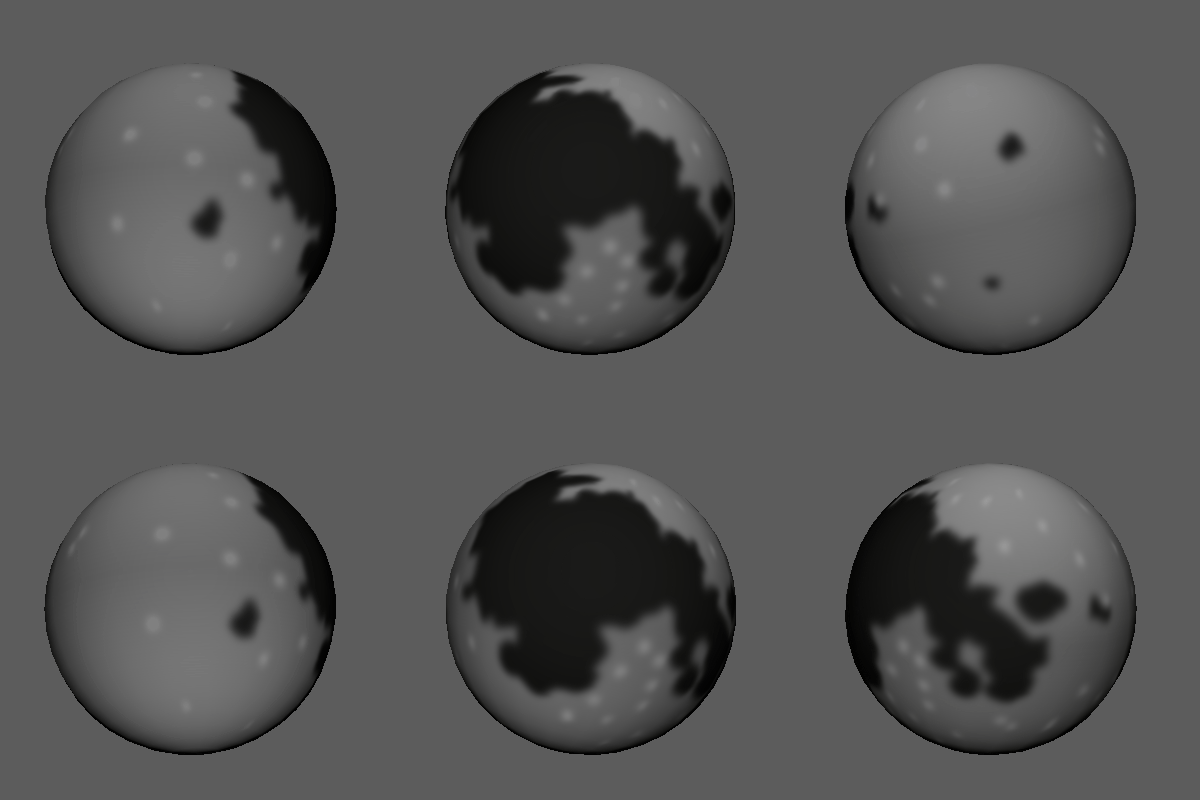
I also made the texture for the moon. Using a surface map of the Moon produced by NASA as a base, I made a more simplified version of the texture using a mostly grey gradient and the polygonal lasso tool to add in the details.

Bonus: sCRAPPED aSSETS
eARLY jUPITER
I was going to do Jupiter but after attempting it once, I accidentally forgot to make it seamless, and Nathias decided to make the texture for Jupiter. Here is the one I made.
eARLY sATURN rINGS
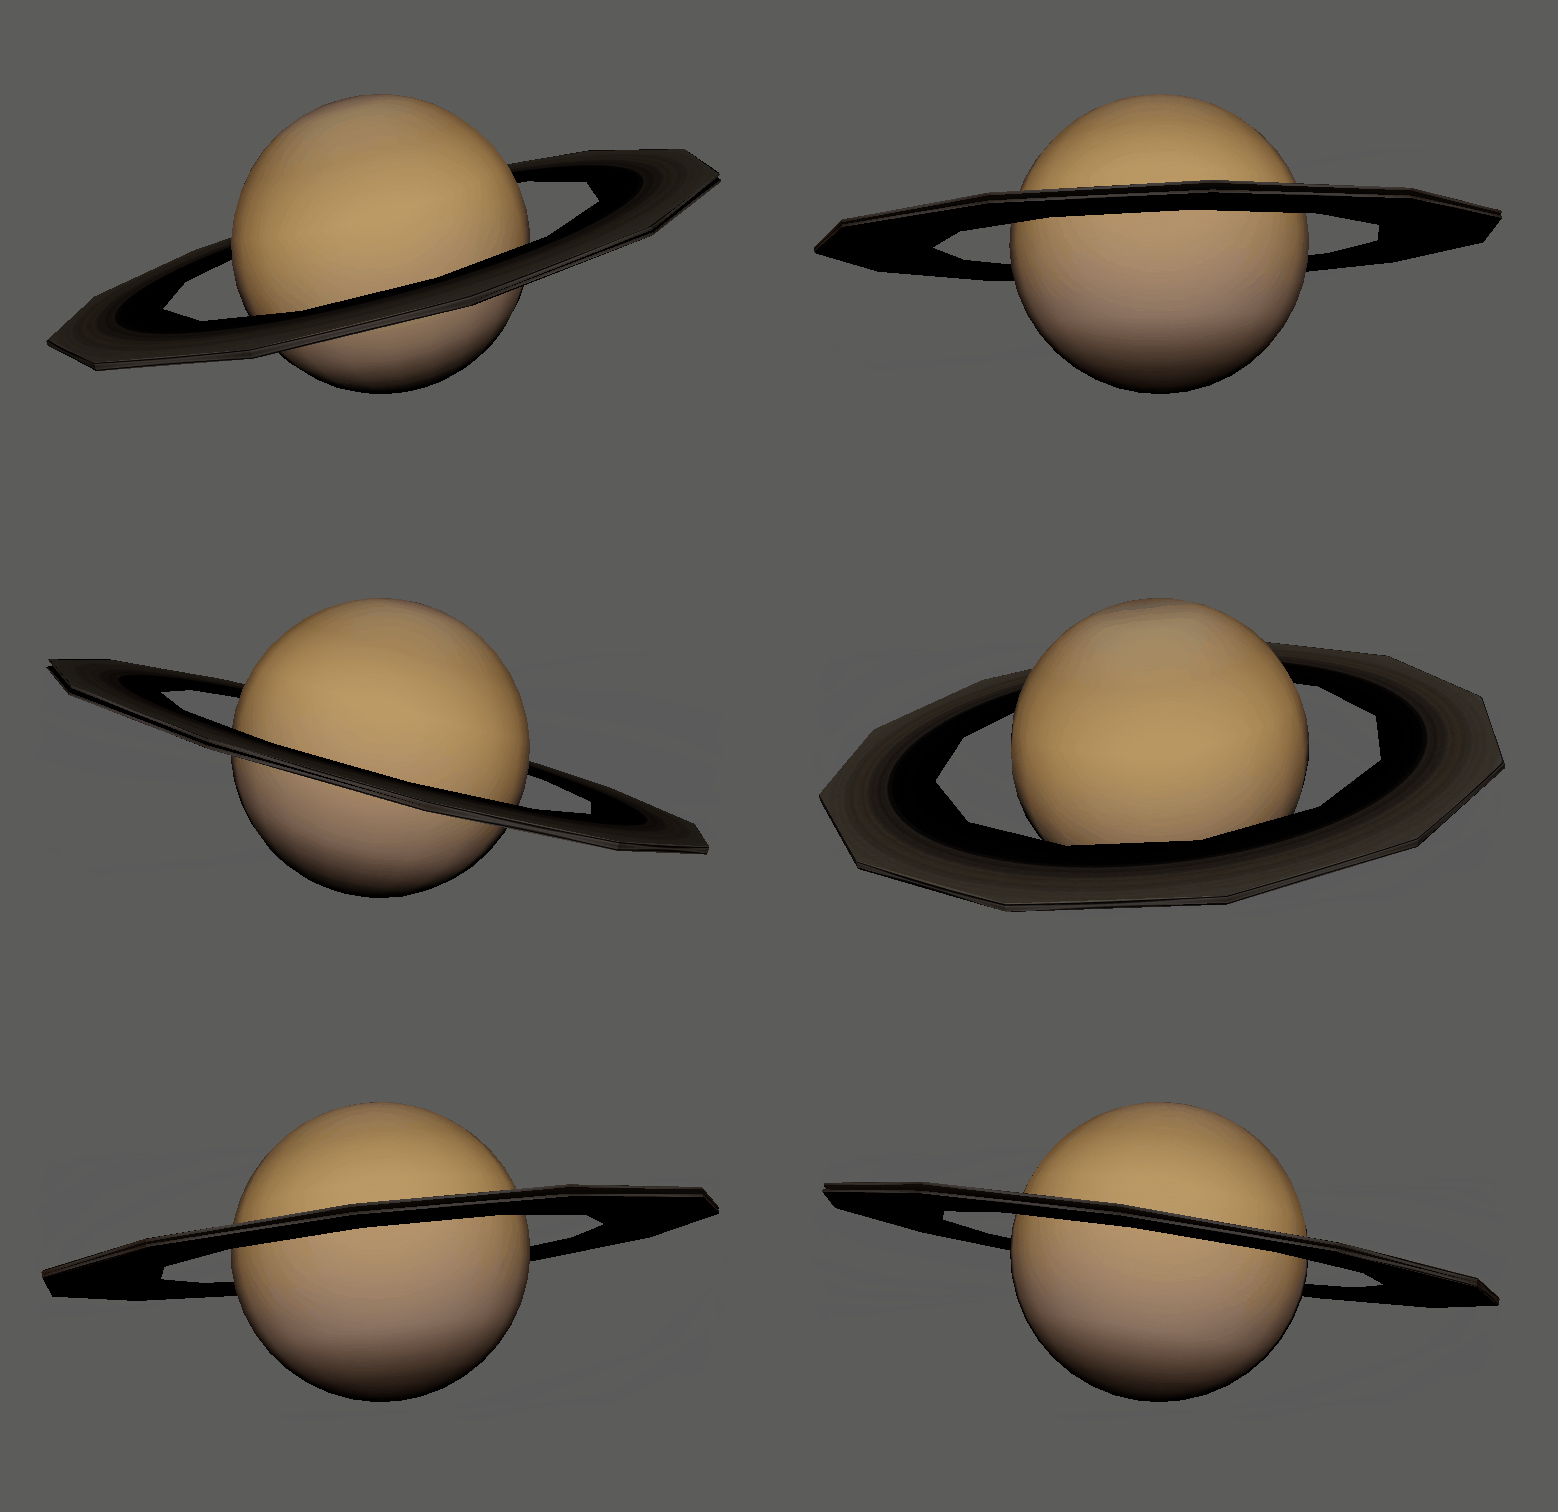
I was going to make the ring for Saturn, but I messed up the UV's and made it a bit too jagged. Here is the result.

.png)

3D Model Gallery (Vectary Model Viewer)
Sun
Moon
Mercury
Venus
Earth
Mars
Saturn
Uranus
Neptune
Pluto
Early Jupiter
Note: The ring isn't present due to the UV's becoming corrupted upon import for some reason (yet Unreal seems to read it perfectly well.)
fINAL Artefact Feedback sURVEY Results
After completing the final product, we decided to ask for some feedback for the project, to help us make some final touches before the final submission deadline. Here were the results.
Final Evaluation
Overall, the project ended up going smoothly for the most part, but we did have some problems along the way. Brynmor had problems with getting a playable build of the project in a working state for the final product. I had problems making some of the textures seamless and I only really used the tools I needed for the project, not really experimenting with other tools available in Photoshop. If I had more time, I would have put a bit more detail into the texturework and possibly made textures for some of the moons.
Strengths:
One of my strong points across the entire project was the fact that the only thing I had to do was make the textures, and making them was relatively easy, especially in such a short timeframe.
Weaknesses:
Unfortunately, my textures weren't that detailed, and we never ended up using my versions of Jupiter and Saturn's Ring, as they had a LOT of problems (namely the lack of a seamless transition on Jupiter and a jagged look for the ring with a mismatched texture). Thankfully Nathias made these textures instead and they turned out much better as a result.


